
Friday Photo Tips for Mommas

Hi Mommas! I am so glad you joined me in my live video today!
You all asked some great questions. I hope I was able to answer them well and give you a few new ideas. Our goal is to learn to take better photos of our families. To be able to use the tools we have to document our every day lives. Lets recap some of the questions you all asked:
Cate
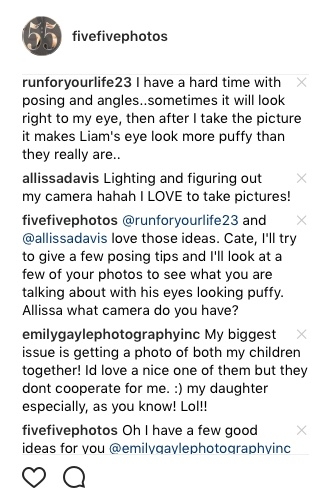
Cate I want to address your question first, I think your issue has more to do with lighting than it does posing. Take a close look at the direction of light in these photos I snagged from your Facebook page:
[ngg_images source=”galleries” container_ids=”53″ exclusions=”1852,1853,1854,1855,1856″ display_type=”photocrati-nextgen_basic_thumbnails” override_thumbnail_settings=”1″ thumbnail_width=”120″ thumbnail_height=”90″ thumbnail_crop=”1″ images_per_page=”20″ number_of_columns=”0″ ajax_pagination=”1″ show_all_in_lightbox=”0″ use_imagebrowser_effect=”0″ show_slideshow_link=”0″ slideshow_link_text=”[Show slideshow]” template=”/home/content/68/11871968/html/wp-content/plugins/nextgen-gallery/products/photocrati_nextgen/modules/ngglegacy/view/gallery.php” order_by=”sortorder” order_direction=”ASC” returns=”included” maximum_entity_count=”500″]
If you notice the photos that make your sweet son’s eye look more puffy are the ones that have a harsh light coming from directly above or directly below. If you want to eliminate unflattering shadows from your pictures, light your subject from the front. This rule, however, does not alway apply. Learn to study the direction of the light. Learn how to manipulate the light for your benefit.
Allissa
Allissa I would love to help you learn how to use your camera, I will need to know what kind of camera you have and if you want to take the leap to learn how to shoot using manual settings. The more people who tell me they want this type of class the sooner I will do it. 🙂
Emily
Emily, I run into this issue all the time when I’m photographing families. Here’s a few tricks I use:
- Tell one of them to whisper a secret in the other’s ear.
- Have the older one read a book or teach the younger one something that he/she loves to do.
- Tell them to hold hands and jump as high as they possibly can over and over. Give them an incentive by saying something like, “hey I’ll take some photos while you’re doing this so we can see who jumped the highest!” Be excited with them. Make it really fun.
Side note guys: Emily is a new but AWESOME family and baby photographer located in Salt Lake City. Check out her instagram: @EmilyGaylePhotographyinc
Anna
Anna, I hear you! Taking photos of your kid when they are really active and aware of the camera can be challenging. I would give you similar tips to the ones I gave Emily. Make taking photos a fun thing you do with your child. Engage them in the process. It doesn’t have to be a secret point and click.
Here’s my tips for taking good photos of active children:
- The photographer needs to be active
- Make it a game. One of my go to games at photoshoots is the “freeze and smile” game. Let them run and be crazy, you should run around and be crazy with them (really, it’s fun) then shout in a fun exciting voice, “Freeze, look at me, SMILE!” And do your own impression of the freeze look and smile before you try to take a photo. They will laugh think its fun and you will end up getting really funny and cute photos.
- Anticipate the moment. That is what I did with the photo of the little boy running that I posted on my instagram page. I saw what he was doing, took a couple test shots to make sure my lighting was just how I wanted it. Then I waited until he went right through the path I wanted him to. As soon as he was about there I rapid fired to make sure I had a still action shot where he was framed perfectly within the window. You can do a rapid fire with your phone camera by holding down the shutter button.
Here’s my tips for taking photos of camera aware children:
- Take turns. Let them take a few photos of you or play with the phone a little (depending on the age) then you say, “it’s my turn.” and start taking a few of them.
- Explain to them. Sometimes, depending on the child, explaining what you are doing will help. It’s the “old draw attention to the distraction in order to remove the distraction” trick. I still remember that from my high school speech class. Go me!
- Distract the child with whatever you can. Seriously though, use anything: Ice cream, a lollipop, a toy, a mirror. I would try to pick something that would be cute pr meaningful in the photo.
- Make the camera familiar to them.
Jesse
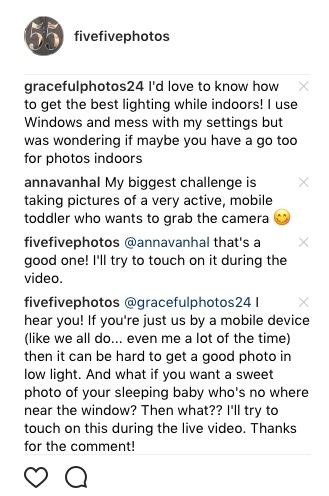
Jesse, “How to get good photos while indoors.” I love this it is a difficult one to accomplish but I have a few ideas for you:
- Off camera flash. If you invested in a Dslr and are trying to make your photos look more professional and you are frequently photographing in low light I suggest this option. The next step would be learning how to bounce the flash and use it in the manual mode. Let me know if you would like me to dive into this topic more thoroughly.
- If that’s too advanced for you, try an led video light. They are really easy to use and not as expensive as an off-camera flash. I use them to help my camera focus during really dark wedding receptions. The other great thing about these is you can use them with your Dslr, your point and shoot, your iPad, and your phone. They are a great option.
- If you don’t want to spend money on anything right now, grab a flash light (preferably led) and a white foam board. I gave an example of how to do this in the video today which can still be watched on my Facebook page. But basically you put the white board by your subject, then you shine the light at the board. It makes the light source softer, bigger, and more flattering. This white board tip also applies to the video light.
Photo Storage and Organization
As I mentioned in the video, I use Smugmug to store my photos “in the cloud”, an external hard drive to store them at home, and I back them up on site by copying the photos to two different cards at the same time (this is a more advanced feature for cameras). I organize my photos by Personal, Weddings, Lifestyle, and Business, then by year, then month, then event, then photo or video. I could go so much more in depth with this if you are interested.
The End!
That was A LOT, but I was pretty basic with all these answers because there were so many questions.
If there is a topic you would like me to go more in depth on please let me know. I would love to help you! If you have the time, please like/share/comment on our stuff. The more of that kind of love we get the more our work and stories are exposed to new people. If I’ve taken photos for you in the past or if you attended a wedding we photographed, please head on over to Google, type in Fivefivephotos then review us. This is one of the best ways to help us promote our business right now. Again, thank you all for watching or reading this post!
Do you love these Friday Photo Tips for Mommas? Are the live videos fun or too much to try to watch? Would it be easier if I made these videos into a youtube channel that you could watch anytime?